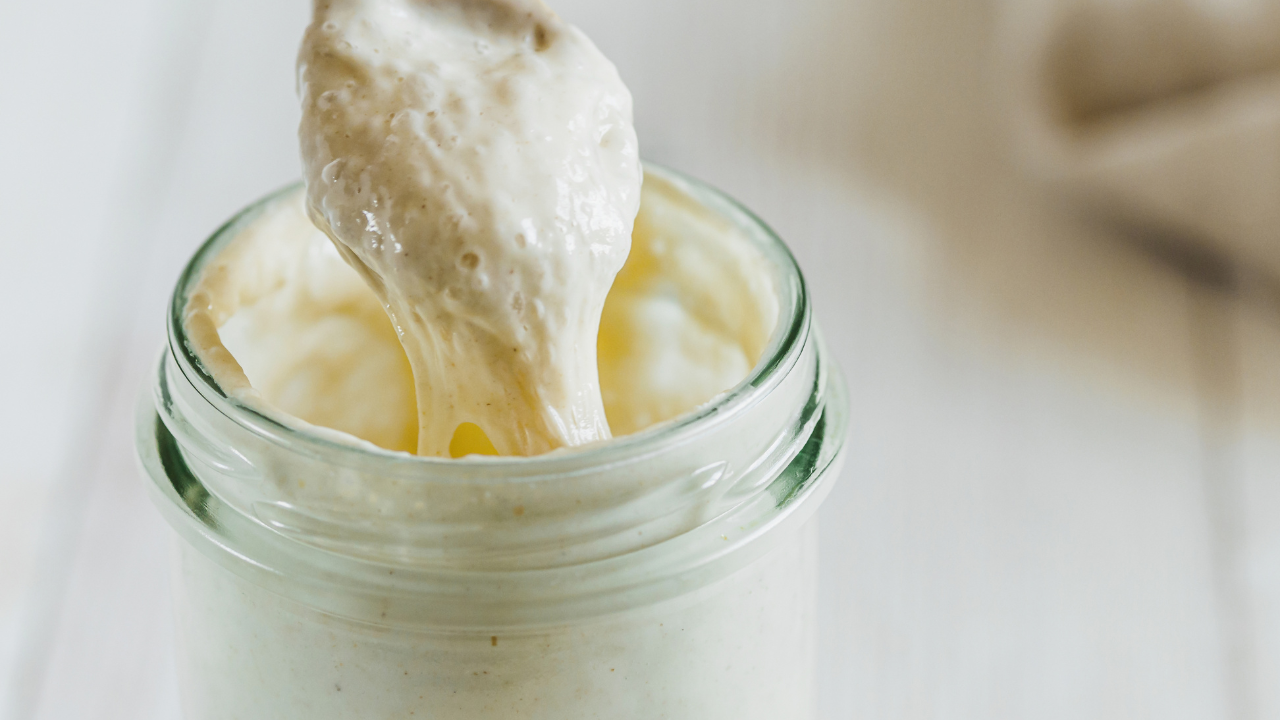
Starting your sourdough starter at home is a rewarding process that requires just flour, water, and a little patience. It’s so easy and simple with just only 2 ingredients and a few kitchen tools.
Preparation:
- a clean jar
- a scale
- a cloth or jar lid
- a rubber band or a paper tape
- Water and bread flour or whole wheat flour
Step-by-Step Process:
Day 1: Mix the Starter
- Combine Ingredients: In a clean glass jar, mix 50g of whole wheat or bread flour with 50g of water. Stir until there are no dry bits of flour. I recommend to you one type of flour for the whole process. And I am using bread flour.
- Cover: Loosely cover the jar with a lid or a cloth to allow airflow while preventing debris from getting in.
- Let It Sit: Place the jar in a warm spot (around 21-27°C) for 24 hours.
Day 2: Check and Feed
- Check for Bubbles: After 24 hours, you may or may not see some bubbles. That’s okay!
- Feed the Starter: Discard half of the starter (about 50g) and add 50g of bread flour and 50g of water. Mix well and cover loosely again.
- Let It Sit: Return it to its warm spot for another 24 hours.
Days 3-10: Continue Feeding
- Feed Daily: Continue the feeding process by discarding half of the starter and adding equal parts flour and water every 24 hours. As the days progress, you should see more bubbles, and the starter should begin to rise and fall.
- Use the rubber band or paper tape to mark on the jar, you will see it is rising.
Day 10: Ready to Use
- Check for Activity: Your starter should be bubbly, have a pleasant tangy smell, and double in size within 3–6 hours of feeding. If it meets these criteria, it’s ready to use for baking!
Once your starter is established, you can use it for baking or store it in the fridge for later use. Happy baking!
